
Most people choose their floor twice. The first time is in a showroom, holding a sample against a paint swatch and imagining how it will look. The second time is three weeks later, when an installer starts asking questions about subfloor moisture, expansion gaps, skirting removal and which direction the boards should run.
That second conversation is where a flooring project is actually won or lost. The product matters, but installation is what determines whether a floor still looks right in ten years or starts gapping, cupping and lifting in eighteen months.
This guide walks through what a professional flooring installation in Melbourne actually involves, step by step, so you know what to expect and what questions to ask.
Step One: Measure and Quote
Everything starts with accurate numbers. An onsite measurement is not simply a matter of multiplying length by width. A professional measure accounts for the shape of the space, doorways and thresholds, cupboard kickboards, wastage from cutting, and the direction the boards will run.
Board direction matters more than most people expect. Running boards along the longest sightline usually makes a room feel larger, but the subfloor structure sometimes dictates the answer instead. On a timber subfloor with joists running one way, boards generally need to run across them rather than parallel.
A quote built from an onsite measure should also identify things a showroom conversation cannot: whether the existing floor needs removing, whether the subfloor is level, whether skirtings need to come off, and whether there are height differences at doorways that will need trims or a stair nosing.
At Quality Flooring we provide onsite measurement and quotes including flooring samples, so the numbers and the colour decision happen together rather than weeks apart.
Step Two: Choosing the Right Installation Method
This is the part of the process most homeowners have never heard of, and it has a bigger effect on the finished result than almost anything else. There are three main methods, and the right one depends on your product, your subfloor and your building.
Direct Glue
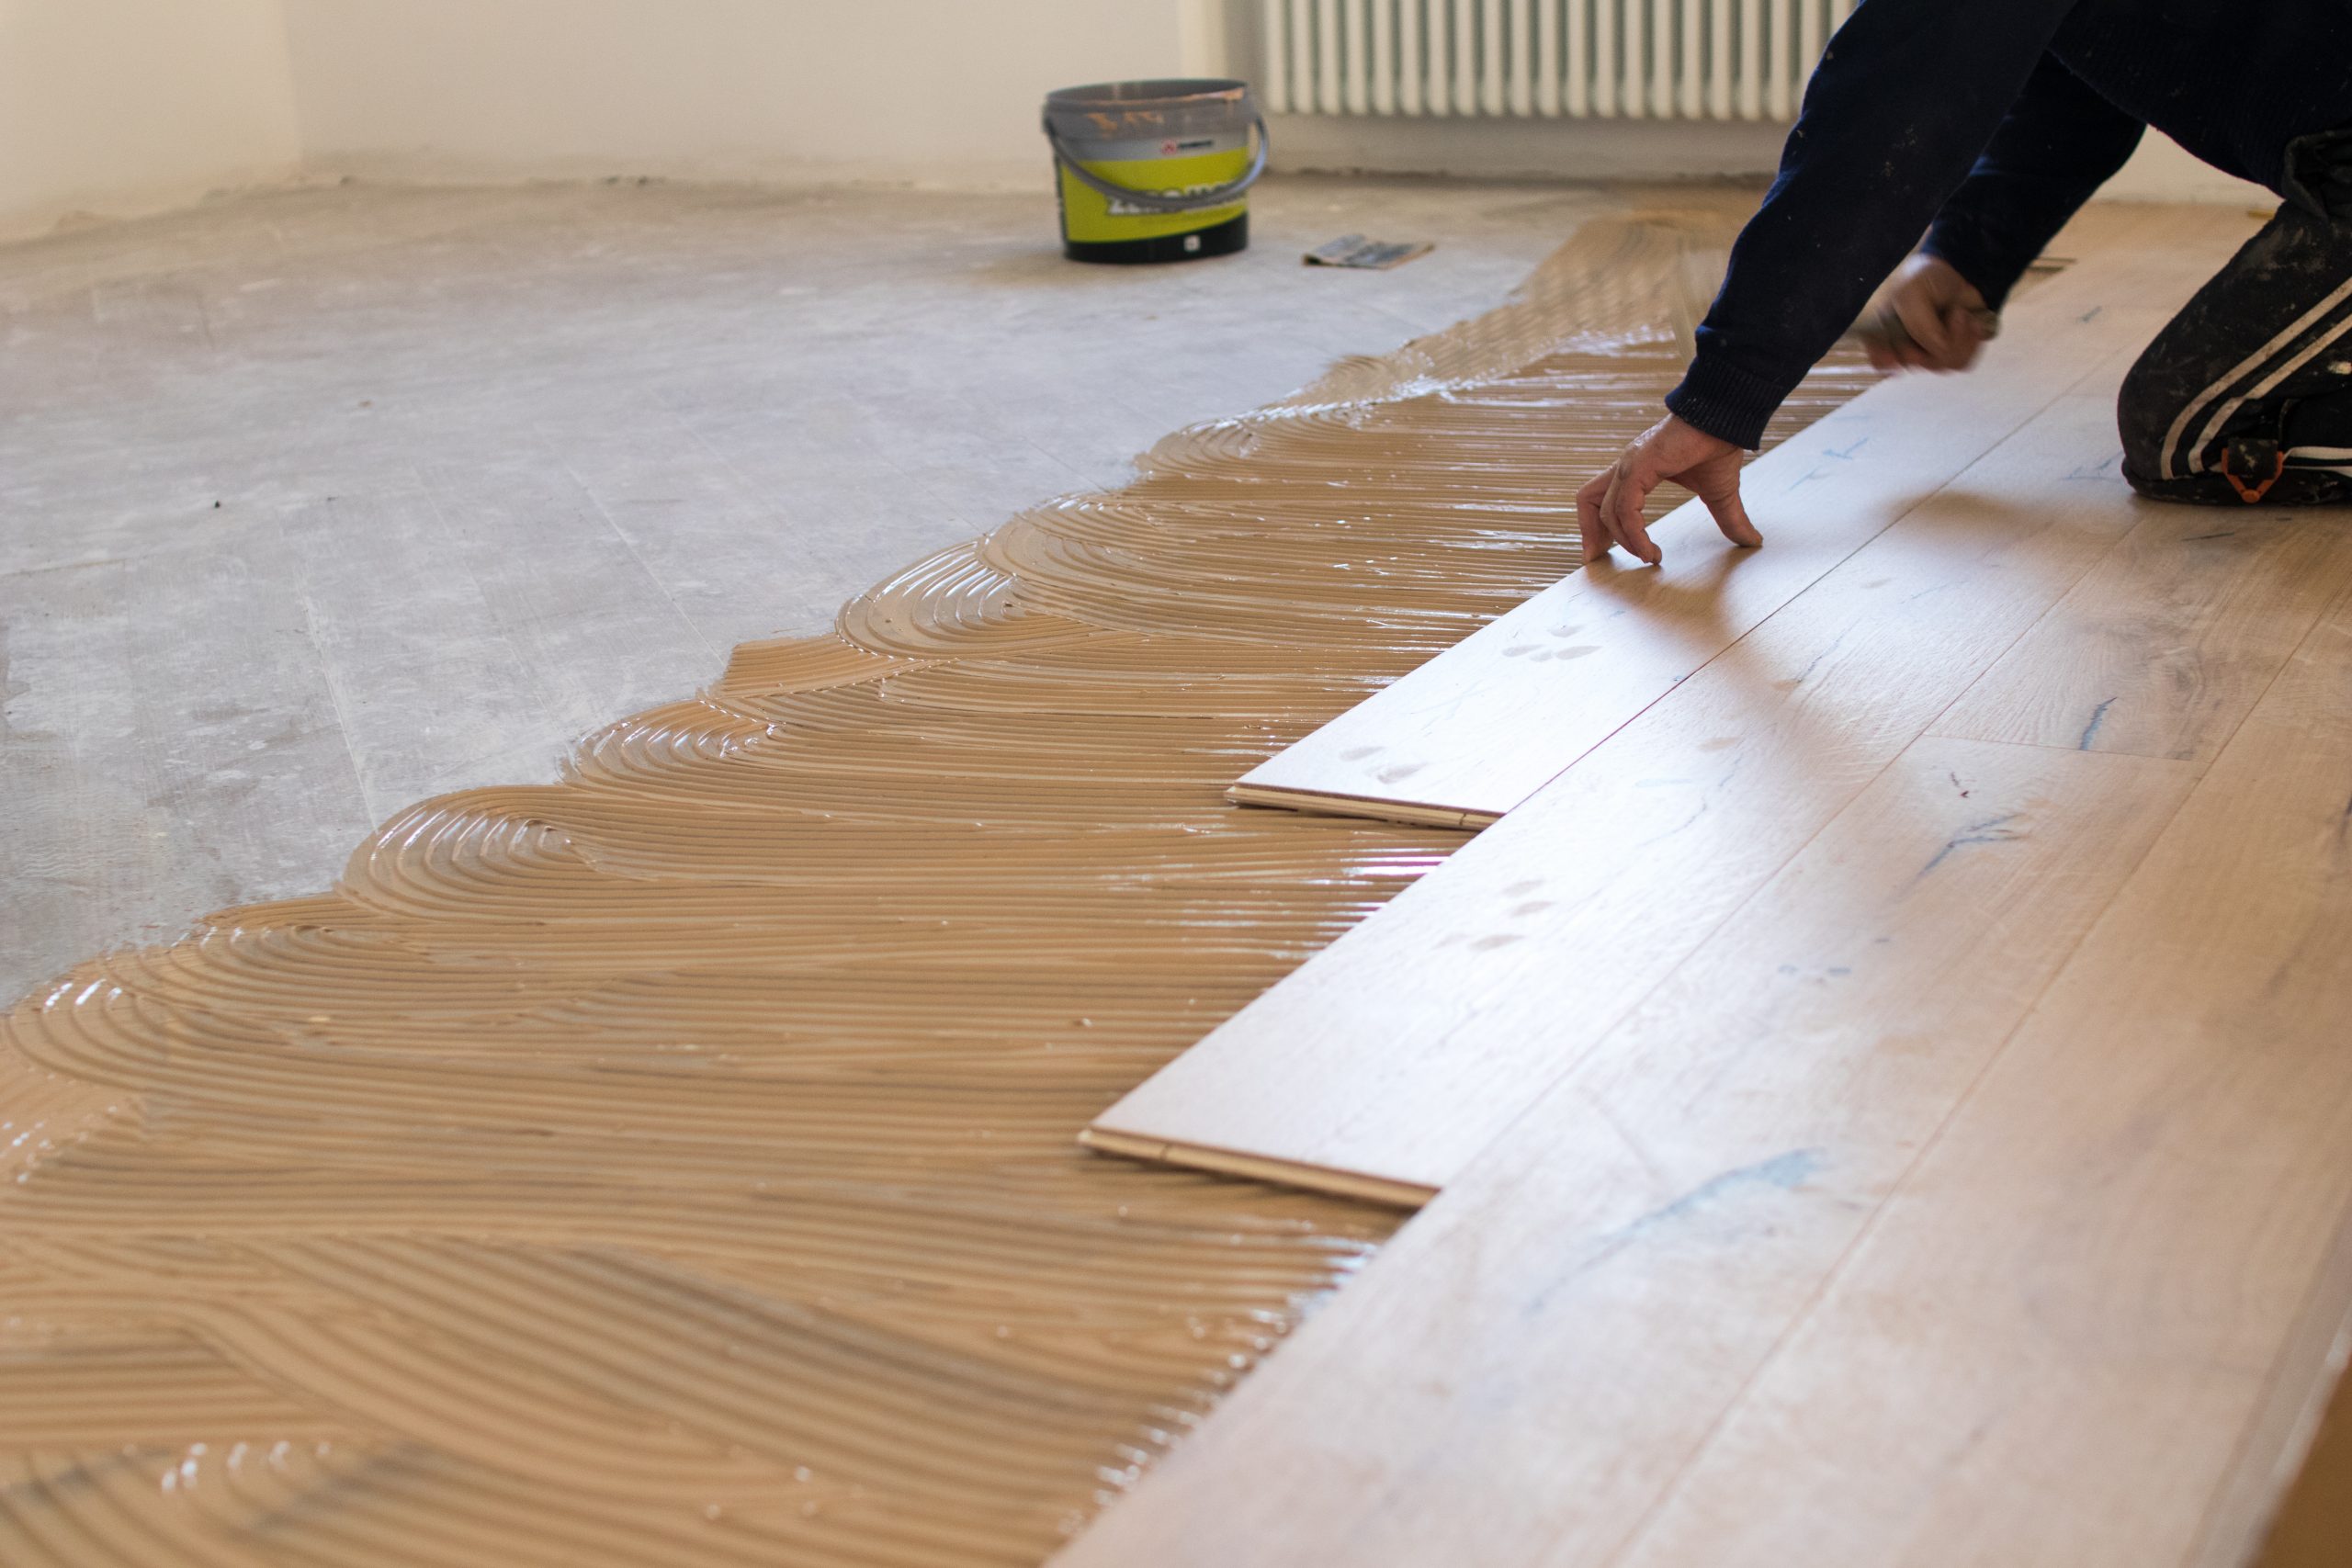
The floor is bonded directly to the subfloor with a flexible flooring adhesive. This gives the most solid underfoot feel, the least movement and the best acoustic performance, because there is no air gap for sound to travel through. It is the standard method for parquetry, and it is used for solid Australian timber and engineered timber flooring where a fixed floor is preferred.
Direct glue demands a properly prepared subfloor. Any hollow, hump or contamination in the slab will show up as a bond failure later.
Floating With Underlay
The boards click together and rest on an underlay rather than being fixed to the subfloor. The whole floor then moves as a single unit, expanding and contracting with seasonal changes without stressing the joints.
This is the standard approach for hybrid SPC flooring, laminate flooring and many engineered timber products. It installs faster, it is more forgiving of minor subfloor variation, and individual boards can usually be lifted and replaced if damaged.
The trade-off is underfoot feel and sound. A floating floor can sound hollower, which is why the quality of the underlay matters so much, particularly in apartments and upstairs rooms.
Direct Glue With Secret Nail
A combination method using both adhesive and concealed fixings, typically over a timber or plywood subfloor. It is used for solid timber and parquetry where maximum stability is required. The nails hold the board while the adhesive cures, and the fixings stay hidden beneath the surface of the next board.
Step Three: Subfloor Preparation

If there is one stage that separates a professional installation from a disappointing one, it is this. Subfloor preparation is invisible in the finished job, which is precisely why it is the first thing cut when a quote is being sharpened.
Proper preparation involves several things:
Levelling and grinding. Concrete slabs are rarely perfectly flat. High spots are ground back and low spots filled with a levelling compound. On a floating floor, an unlevel subfloor causes flexing at the joints, which eventually leads to clicking underfoot and joint separation. On a glued floor, it causes bond failure.
Moisture testing. Concrete slabs hold moisture, particularly newer ones, and moisture moving up through a slab is one of the most common causes of timber floor failure in Melbourne. A moisture barrier is applied where required.
Removal of the existing floor. Old carpet, tiles, vinyl or timber needs to come up, and adhesive residue needs to be removed rather than covered over.
Plywood installation where a suitable timber substrate is needed for the chosen installation method.
Quality Flooring provides levelling, grinding, removal of old flooring and plywood installation as part of our installation service, because these are not optional extras. They are the foundation the floor sits on.
Step Four: Acclimatisation
Timber is a natural material and it responds to its environment. Boards delivered from a warehouse into a home that runs heating in winter and cooling in summer need time to reach equilibrium with those conditions before they are fixed down.
Installing timber straight off the truck is one of the more common causes of gapping and cupping that appears months later. The Australian Timber Flooring Association, of which Quality Flooring is a member, publishes guidance on acclimatisation and installation practice that professional installers work to.
Engineered and composite products are considerably more dimensionally stable than solid timber, which is one of their practical advantages in the Australian climate, but the principle still applies.
Step Five: Installation Day
With preparation done, laying the floor is the fastest part of the process. A professional team can cover a substantial area in a day on a floating installation, and somewhat slower on glue-down work where adhesive coverage and board placement need more care.
The details that matter during this stage are the ones you will notice for years:
- Expansion gaps around the perimeter, allowing the floor to move seasonally without pushing against walls. These are later concealed by skirting or scotia.
- Board layout and staggering so end joints are distributed randomly rather than falling into a visible pattern.
- Colour and grade mixing across boxes, so natural variation is spread evenly rather than clustering into light and dark patches.
- Cuts at doorways, hearths and cupboards, which are the places the eye naturally lands.
Step Six: Trims, Skirting and Finishing
The last ten per cent of the job is what makes it look finished. This stage covers removing and replacing skirtings, or installing scotia to cover the expansion gap, fitting trims at thresholds where the new floor meets tile or carpet, and installing stair nosing where the floor runs to a step.
Stair nosing in particular is worth attention. Quality Flooring offers custom stair nose in bull nose and standard mitred edge, and getting a proper matched profile rather than a generic aluminium trim is the difference between a floor that reads as a complete installation and one that looks like a product laid over a room.
We supply the full range of flooring accessories including adhesives, moisture barriers, underlay, scotia and trims and nosings, so the whole job comes from one supplier and the profiles genuinely match.
What to Do Before the Installers Arrive
A few things on your side make the job run considerably faster:
- Remove breakable items and personal possessions from the rooms being floored
- Confirm in advance who is moving furniture and appliances, you or the installers
- Disconnect electrical items in the room
- Check the finished floor height, particularly where it meets doors that may need trimming
- Clear access from the street to the work area
After the Floor Goes Down
New floors need a settling-in period before heavy use. How long depends on the installation method, the adhesive used, the indoor climate and the product itself. Glue-down floors need curing time before furniture is dragged back in. Floating floors are more forgiving but still benefit from a gentle first week.
Felt pads under furniture legs, mats at entry points and a suitable cleaning product will do more for the life of a floor than anything else. We cover this in our guide to cleaning and protecting your premium flooring.
Why the Installer Matters as Much as the Floor
You can buy an excellent product and end up with a poor floor. The reverse is far less common. Subfloor preparation, correct method selection, proper expansion allowance and careful board layout are not things you can see in a showroom, and they are the things that determine whether your floor performs.
Ask any flooring installer three questions before you commit: how they will prepare the subfloor, which installation method they recommend and why, and what happens if something goes wrong afterwards. The answers will tell you a great deal.
Talk to Quality Flooring About Your Project
Quality Flooring supplies and installs across Melbourne for homeowners, builders, developers and architects. We handle the full process from showroom consultation and onsite measure through to subfloor preparation, installation and finishing, with an after-service warranty behind the work.
Visit our Moorabbin showroom at 423 Warrigal Road to see the range in person, or contact us on 03 9532 3850 or at info@qualityflooring.com.au to arrange a free measure and quote.